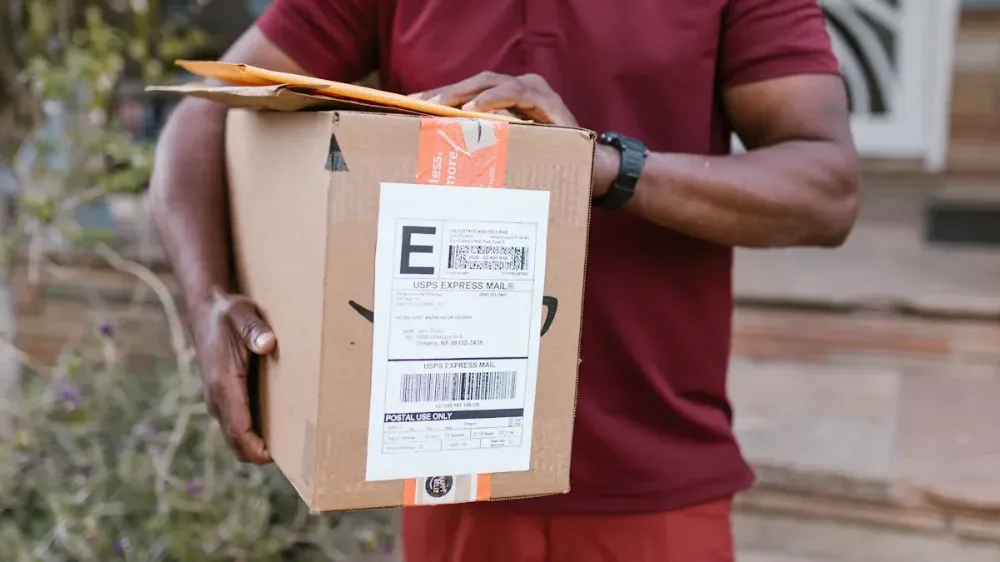
Creating a USPS shipping label from home has never been easier. With the USPS Click-N-Ship tool, you can skip the trip to the post office. All you need is an internet connection, a printer, and a few minutes. You’ll enter the sender and recipient details, choose your shipping options, and print your label right at home. It’s fast, convenient, and perfect for both personal and business needs. Ready to get started? Let’s make shipping hassle-free!
Key Takeaways
Making a USPS account is fast and free. It helps with shipping and lets you save addresses you use often.
Use the Click-N-Ship tool to make labels easily. Follow the steps to add package details and pick shipping options.
Always check sender and receiver info to make sure it’s correct. Errors can cause delays or returned packages.
Think about adding tracking and insurance to your shipments. These options keep your package safe and give you peace of mind.
Schedule USPS pickups to make things easier. This service saves time by picking up packages from your house.
Step-by-Step Guide to Creating a USPS Shipping Label
Setting up a USPS account
Before you can create a shipping label, you’ll need a USPS account. Don’t worry—it’s free and takes just a few minutes to set up. Here’s how:
Visit the USPS website and click on the “Sign Up” button.
Fill out the registration form with your name, email address, and password.
Verify your email address by clicking the link sent to your inbox.
Log in to your new account and explore the features available to you.
Having an account not only lets you create shipping labels but also gives you access to tools like address book management and tracking updates. It’s a small step that makes a big difference in simplifying your shipping process.
Tip: Save your frequently used addresses in your USPS account. This will save you time when creating future labels.
Navigating the Click-N-Ship tool
Once your account is ready, it’s time to dive into the Click-N-Ship tool. This user-friendly feature is designed to make creating shipping labels quick and easy.
Log in to your USPS account and click on “Click-N-Ship” from the menu.
Select “Create a Shipment” to start the process.
Follow the prompts to enter details about your package, including its weight, dimensions, and destination.
Choose your preferred shipping service, such as Priority Mail or First-Class Package Service.
The tool guides you step by step, so you won’t feel lost. It’s intuitive and works seamlessly, even if you’re new to online shipping.
Note: You don’t need a fancy printer to use Click-N-Ship. A regular printer works perfectly for printing your shipping labels.
Entering sender and recipient details
Now comes the important part—filling out the sender and recipient information. Accuracy is key here to ensure your package reaches the right destination.
Enter your name and address in the “Sender” section. If you’ve saved your address in your account, you can select it from the dropdown menu.
Input the recipient’s name and address. Double-check for typos or missing details.
If you’re shipping internationally, include customs information as required.
Once you’ve entered the details, the tool will calculate the shipping cost based on the package’s weight, size, and destination. You’ll also see options for tracking and insurance, which you can add for extra peace of mind.
Tip: If you’re unsure about the recipient’s address, use the USPS address lookup tool to verify it before proceeding.
Selecting shipping options and services
Picking the right shipping options helps your package arrive on time. USPS has many choices, so you can find what fits best.
Here’s how to choose your options:
Pick a Service Type
USPS offers services like Priority Mail, First-Class Package Service, and Priority Mail Express. Need fast delivery? Priority Mail Express delivers overnight. Sending something light? First-Class Package Service is cheaper.Add Extra Features
Add features like tracking, insurance, or signature confirmation for more benefits. Tracking shows where your package is, and insurance covers loss or damage.Choose Delivery Speed
Not all packages need quick delivery. Save money by choosing slower shipping for non-urgent items.Consider Package Size and Weight
USPS calculates costs based on your package’s size and weight. Measure and weigh it carefully to avoid surprises when paying.
Tip: Unsure about the best service? Use USPS’s comparison tool online. It shows delivery times, prices, and features side by side.
Paying for and printing the shipping label
After picking your shipping options, it’s time to pay and print your label. This step is simple and quick.
Here’s what to do:
Review Your Details
Check sender and recipient info, package size, and chosen services. Mistakes can cause delays or extra costs.Make Your Payment
Pay using credit cards or PayPal. Confirm your payment after entering details.Download and Print Your Shipping Label
Once paid, download your label and print it. Use a regular printer and ensure the label is clear.Attach the Label to Your Package
Tape the label securely to your package. Don’t cover the barcode, as it needs to be scanned.
Note: No printer at home? Save the label as a PDF and print it later at a library or store.
Printing labels at home saves time and skips trips to the post office. It’s an easy way to make shipping faster and simpler.
Types of Shipping Labels and Their Requirements
Not all shipping labels are the same. Each type has a purpose. Knowing their rules can save time and money. Let’s explain further.
Domestic vs. international shipping labels
Shipping in the U.S. is simple. International shipping needs extra steps. Domestic labels move packages between states. International labels need customs details and follow strict rules.
Here’s what to know:
Domestic Shipping Labels: These need sender and recipient info, package weight, and service type.
International Shipping Labels: These include customs forms, item descriptions, and harmonized codes. You must also list the package’s value and where it’s from.
Tip: Check international labels carefully. Errors can delay customs or return your package.
Service-specific labels (Priority Mail, First-Class, etc.)
USPS offers many services, each with label rules. Picking the right service ensures delivery meets USPS standards.
Here’s a quick guide:
Service Type | Label Rules |
|---|---|
Priority Mail | Use USPS labels or approved private labels with IMpb and IMmb. |
First-Class Mail | Follows Priority Mail rules but has specific label conditions. |
Privately Printed Labels | Must match USPS forms and get NCSC approval before use. |
Label 888 | For electronic mailers; must be placed correctly on the package. |
Tracking Labels | Must have service codes and customer MID in barcodes. |
Note: If printing your own labels, ensure they follow USPS rules. Wrong labels can cause delivery problems.
Label size and format guidelines
USPS has strict label size and format rules. Wrong labels can cause scanning errors or delays.
Keep these in mind:
Size: Most labels are 4×6 inches for standard packages. Bigger packages may need larger labels.
Format: Labels must have a clear barcode, sender and recipient info, and service type. Avoid smudges or faded prints.
Placement: Put the label on the largest flat side of the package. The barcode must be visible and not covered by tape.
Tip: A thermal printer makes clear, smudge-free labels. It’s worth it if you ship often.
Following these rules avoids shipping mistakes. Whether sending gifts or running a business, the right label ensures safe, on-time delivery.
Tracking and insurance options
When you send a package, it’s good to know where it is. USPS offers tracking and insurance to make shipping safer and easier. These features help you feel confident about your shipment.
Tracking Options
Tracking lets you follow your package’s journey step by step. USPS gives free tracking with most services, like Priority Mail. After making your label, you’ll get a tracking number.
Here’s how to use tracking:
Check Online: Type the tracking number on the USPS website or app.
Get Alerts: Sign up for email or text updates about your package.
Share Info: Give the tracking number to the recipient for delivery updates.
Tip: Save time by keeping all your tracking numbers in your USPS account.
Insurance Options
Sometimes packages get lost or damaged. Insurance helps protect your money if this happens. USPS offers insurance to cover your shipment’s value.
Here’s what to know about insurance:
Included Coverage: Priority Mail includes up to $100 insurance for free.
Extra Insurance: Buy more coverage for expensive items when making your label.
File a Claim: If something goes wrong, file a claim online. Keep proof of value and your receipt ready.
Note: Insurance doesn’t cover banned items or packages that break USPS rules. Check guidelines before shipping.
Why Use Tracking and Insurance?
Tracking and insurance make shipping less stressful. Tracking shows where your package is, and insurance protects its value. Whether sending gifts or business items, these tools ensure safe delivery.
Using both tracking and insurance gives you peace of mind. Your package will arrive safely and on time.
Tips to Make the Shipping Label Process Easier
Save addresses in your USPS account
If you send packages often, save addresses in your USPS account. This saves time by avoiding retyping the same details each time.
Here’s how to do it:
Log in to your USPS account.
Click on the “Address Book” section.
Add new addresses with the recipient’s name, street, city, state, and ZIP code.
Save commonly used addresses for quick selection when making labels.
This is very helpful for businesses or anyone shipping to the same people often. You’ll spend less time filling forms and more time on other tasks.
Tip: Always check saved addresses for mistakes. Even small errors can cause delays or returned packages.
Use a thermal printer for better results
A regular printer works fine, but a thermal printer is better. These printers are made for shipping labels and have many advantages.
Why use one?
No Ink Needed: Thermal printers use heat, so no ink or toner is required.
Sharp Labels: They make clear, smudge-free labels that scan easily.
Fast Printing: They print quickly, great for making many labels at once.
If you ship often, a thermal printer can save time and money. It’s a small upgrade with big benefits.
Note: Choose a thermal printer that prints 4×6 inch labels. This is the standard size for USPS labels.
Choose prepaid postage for frequent shipping
Prepaid postage is great if you ship regularly. Instead of paying for each package separately, buy postage in advance to use later.
Why is prepaid postage helpful?
Convenience: No need to enter payment details every time.
Saves Time: Speeds up the process, especially for multiple shipments.
Budget-Friendly: Helps manage shipping costs by buying in bulk.
To start, pick the prepaid postage option when creating a label. It’s ideal for small businesses or anyone wanting a faster shipping process.
Tip: Keep an eye on your prepaid balance so you don’t run out.
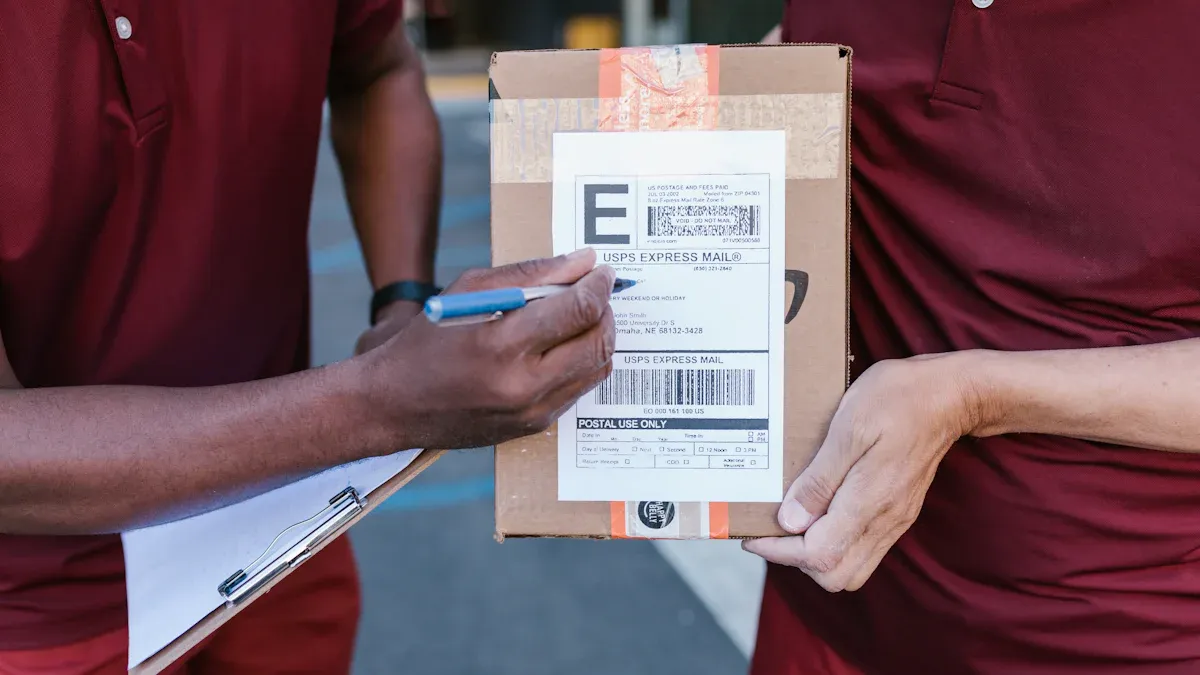
Scheduling USPS pickups for convenience
Did you know you don’t have to leave your house to send packages? USPS offers a pickup service that makes shipping even easier. You can schedule a pickup online, and your mail carrier will collect your packages right from your doorstep. It’s perfect for busy days or when you’re shipping multiple items.
Here’s how you can schedule a USPS pickup:
Log in to Your USPS Account
Start by logging into your USPS account. If you don’t have one yet, you can create it in minutes.Go to the Pickup Request Page
Once logged in, visit the “Schedule a Pickup” section. You’ll find it under the “Shipping” menu.Enter Your Pickup Details
Fill out the form with your address, package information, and preferred pickup date. You can even choose a specific time window for the pickup.Confirm Your Request
Review the details and submit your request. USPS will send you a confirmation email with all the information.
Tip: Make sure your packages are ready and labeled before the pickup time. This saves your carrier time and ensures smooth delivery.
Why Use USPS Pickup?
Scheduling a pickup saves you time and effort. You don’t have to drive to the post office or wait in line. It’s especially helpful if you’re shipping heavy or bulky items. Plus, it’s free for most services like Priority Mail and First-Class Package Service.
Here’s a quick look at the benefits:
Benefit | Why It’s Helpful |
|---|---|
Convenience | Packages are collected from your home or office. |
Time-Saving | No need to visit the post office. |
Cost-Effective | Free pickup for many USPS services. |
Flexible Scheduling | Choose a date and time that works for you. |
Note: If you’re shipping internationally or using certain services, check USPS guidelines to ensure your package qualifies for pickup.
Make Shipping Stress-Free
USPS pickups are a game-changer for anyone who ships regularly. Whether you’re running a small business or just sending gifts, this service makes the process smoother. Try it out, and you’ll wonder why you didn’t use it sooner!
Addressing Common Concerns About Shipping Labels
Costs associated with creating a shipping label
Wondering about the cost of a USPS shipping label? Prices depend on the shipping service, package weight, and destination. Priority Mail includes free tracking and insurance. First-Class Package Service is cheaper for lighter packages.
Some policies can be frustrating. USPS refunds unused labels, but only within 30 days. Miss this deadline, and you won’t get a refund. Worse, trying for a refund after 30 days may result in extra charges.
Tip: Check your label details carefully before paying. Use USPS’s online comparison tool to pick the best service for your needs.
Equipment needed to print labels
You don’t need fancy tools to print a label. A regular printer works fine, but labels must meet USPS barcode rules.
Here’s what you’ll need:
Non-glossy white paper: Helps barcodes scan correctly.
Clear printing: Barcodes must meet USPS grade standards, usually grade A or B.
Readable text: Information below the barcode must follow USPS rules.
Thermal printers are great for frequent shippers. They make clear labels without ink or toner. If using a regular printer, ensure the barcode is clear and not covered by tape.
Note: USPS routing codes must follow GS1-128 standards for accurate scanning and delivery.
Reprinting labels in case of errors
Mistakes happen, and you might need to reprint a label. USPS lets you reprint within 24 hours. After that, you must void the label and buy a new one, which costs extra.
If you don’t print or void the label in time, USPS keeps the payment. Many find this unfair. To avoid issues, print your label right after buying it.
Tip: Save your label as a PDF after payment. This lets you print it later without worrying about the 24-hour limit.
Reprinting can be stressful, but staying organized helps. Double-check details before paying and track the label’s time limit to avoid extra fees.
Validity period of USPS shipping labels
USPS shipping labels don’t last forever. They have specific time limits. If you don’t use your label in time, problems can happen. You might face delays or lose the chance to ship your package.
Here’s how the time limits work:
Mailing Period:
USPS labels are good for 30 days from the purchase date. You must send your package within this time.Reconciliation Period:
After 30 days, you get 20 more days to fix issues. During this time, you can submit files to account for missing parcels.Extra Flexibility:
USPS gives 10 extra days after the mailing period to submit files. This helps if you need more time to reconcile parcels.
Tip: Always check your label’s date before mailing. If it’s expired, you’ll need to make a new one.
Why Does This Matter?
Using your label on time ensures smooth delivery. USPS scans the barcode to track and process your package. Expired labels can cause errors or delays.
Time Frame | What It Covers |
|---|---|
Mailing Period | 30 days to use the label and send your package. |
Reconciliation Period | 20 days after mailing period to fix missing parcels. |
Extra Submission Time | 10 more days to submit files for reconciliation. |
Knowing these time limits avoids problems. Whether sending gifts or running a business, using labels within their validity keeps packages moving smoothly.
Note: Not sure about your label’s status? Log in to your USPS account to check. This saves time and prevents surprises at the post office.
Creating a shipping label with USPS Click-N-Ship is simple and convenient. You can handle everything from your home or office, saving time and effort. By following the steps in this guide, you’ll streamline your shipping process and avoid common mistakes. Whether you’re sending a gift or running a business, this tool makes it hassle-free. Why wait? Start creating your shipping labels today and enjoy stress-free shipping!
FAQ
What if I don’t have a printer at home?
No printer? No problem! Save your shipping label as a PDF. You can print it later at a library, office supply store, or even a friend’s house.
Tip: Some USPS locations offer printing services. Check with your local post office for availability.
Can I use any type of paper for printing labels?
You can use regular white paper, but it must be non-glossy. Glossy paper can cause scanning issues. For frequent shipping, consider adhesive label sheets or a thermal printer for better results.
Note: Avoid covering the barcode with tape to ensure smooth scanning.
How do I calculate my package’s weight?
Use a kitchen or postal scale to weigh your package. If you don’t have one, estimate the weight and round up slightly. USPS will adjust the cost if the weight is inaccurate.
Tip: Investing in a postal scale can save you time and money in the long run.