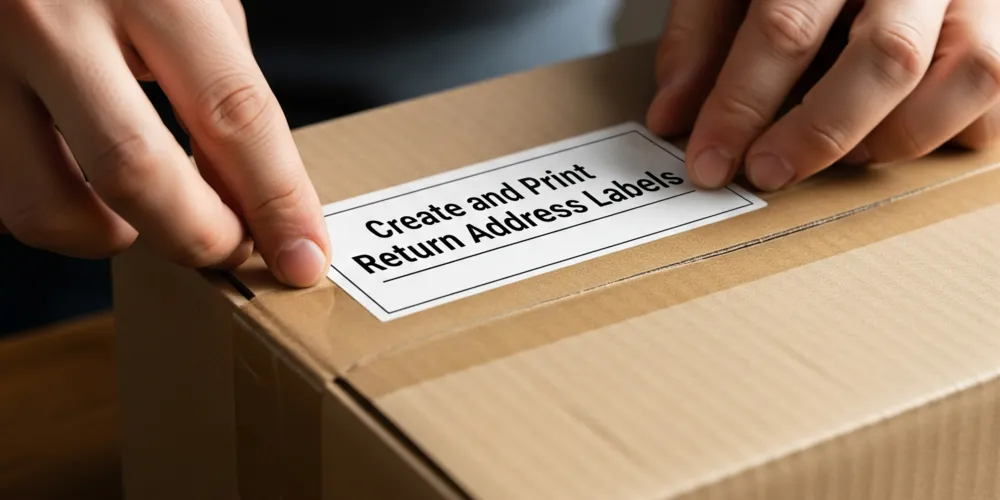
Anyone can create and print return address labels easily using Google Docs. Clear and professional labels build trust with your recipients and help speed up the return process. Many beginners struggle with formatting or using add-ons, but tools like ‘Create&Print Labels’ combined with quality printers make it simpler for everyone.
Key Takeaways
Use Google Docs with the ‘Create&Print Labels’ add-on. This helps you make return address labels easily. You do not need special software. Your labels will look professional.
Pick the right label template. Type your address carefully. This makes sure your labels are neat and correct. It also saves time and stops you from wasting labels.
Check your printer settings before you print. Put the label sheets in the printer the right way. This helps your labels print clearly and straight. Waterproof labels help your address stay readable in any weather.
Get Started in Google Docs
Open a New Document
Starting with google docs makes the process simple for anyone. First, they need to open their web browser and go to the Google Docs homepage. Most people find that google docs works best on popular browsers. Here are some browsers that support label creation tasks:
Chrome
Safari
Edge
Firefox
Opera
These browsers help users avoid glitches or slowdowns. Once on the homepage, they can click the blank document option. This opens a fresh page where they can design their return address labels. A new document gives them a clean slate, so they do not have to worry about old formatting or leftover text.
Access Add-ons
After opening a new document, users should look for the Extensions menu at the top of the screen. This menu holds all the add-ons that make google docs more powerful. Add-ons help users create labels without needing special software. By clicking Extensions, they can browse and install tools that fit their needs. Many people use add-ons to save time and avoid manual formatting. The right add-on can turn a blank document into a sheet of professional return address labels in just a few steps.
Tip: If users do not see the Extensions menu, they should check if their browser is up to date. Using one of the supported browsers listed above usually solves this problem.
Add the Label Tool
Install ‘Create&Print Labels’
To make and print labels in google docs, users need a good add-on. The ‘Create&Print Labels’ add-on is easy to use and works with many printers. It also supports lots of label templates. Users can find this add-on by going to the Extensions menu. They should search for it in the Google Workspace Marketplace.
The add-on has more than 5000 label templates. Many people pick templates from brands like Avery®, SheetLabels, OnlineLabels, and Herma. There is a ‘Most popular labels’ section to help users choose fast. These templates are great for mailing, parties, or organizing things at home.
Note: The add-on works with both Google Docs and Google Sheets. This means users can make labels from different documents.
Launch the Add-on
Once the add-on is installed, users can open it from the Extensions menu. The tool helps them step by step. First, they pick a template. Next, they type in the address details. Users do not have to worry about safety. Google Docs add-ons have strong security. Some add-ons, like DocSecrets, lock private info with a password. Google Workspace also uses sharing controls to protect user data.
With the add-on ready, users can start making labels fast. This is good for beginners and for people who want to save time.
Create and Print Return Address Labels
Choose a Label Template
Picking the right template is the first thing to do. Many people like templates that fit their label sheets at home or work. Some popular choices are:
Avery 15695
Avery 18195
Avery 18294
Avery 18695
Avery 38667
Avery 42895
Avery 48335
Avery 5155
Avery 6430
Avery 6520
Avery 6523
Avery 6524
Avery 8195
Avery 88695
These templates work with Google Docs and the ‘Create&Print Labels’ add-on. Users can search for the template number or look through the list in the add-on. Picking the right template makes sure the labels print in the right spots. This step saves time and stops you from wasting label sheets.
Tip: Look at your label sheet package for the template number before you start. This helps you line up the labels and makes them look neat.
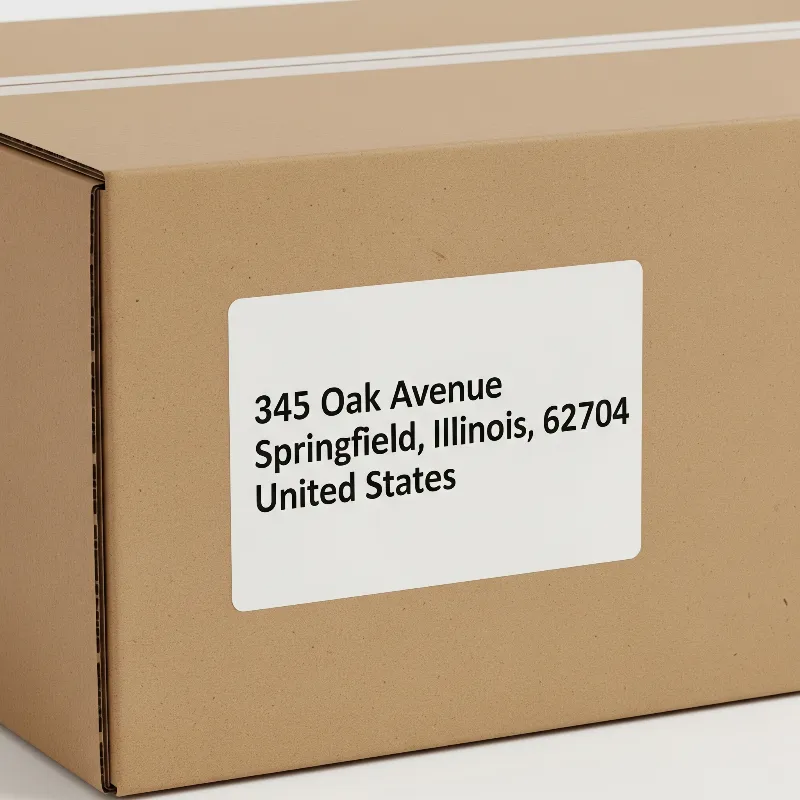
Enter Return Address
After choosing a template, users type in their return address. It is important to be careful here. A correct address helps mail get back to you if needed. To keep things neat and clear, users should do these things:
Put each part of the address on its own line: name, street address, city, state, and ZIP code.
Use the same style for every label. For example, always write “St” instead of sometimes writing “Street.”
Check spelling and numbers. Even small mistakes can cause problems.
Update the address list often. This keeps the information right and stops old details from being used.
Use Google Docs or the add-on to find mistakes or repeated addresses.
Note: People sometimes forget apartment numbers or use old addresses. Checking the address before printing helps stop these mistakes.
Replicate Across Labels
When the return address looks good, users need to put it on all the labels. Google Docs makes this simple. Users type the address in the first cell of the template. Then, they copy and paste it into the other cells. Some add-ons, like ‘Create&Print Labels,’ can fill every label with the same address for you.
Users make the label in one cell.
Add-ons can do this step for you and save time.
This way, users can make and print return address labels fast. Every label will look the same, which looks nice and professional. After setting up the labels, users can print the whole sheet at once.
Tip: Always look at a preview before printing. This helps you find mistakes and makes sure every label is right.
Print Labels
Check Printer Settings
Before users print labels, they should check their printer settings. Many printers work well, but some models, like Munbyn, offer better results with label sheets. Users need to select the right paper type, such as “Labels” or “Heavy Paper,” in the printer menu. This helps prevent ink smearing or toner flaking. They should also set the print scale to 100% or “Actual Size” to keep the labels lined up. Printing a test page on plain paper helps spot alignment problems before using real label sheets. Users can adjust margins if the print does not match the label layout. Keeping printer drivers and label software updated also helps avoid issues.
Tip: Always check that the printer matches the label sheet size and layout. This step saves time and reduces wasted labels.
Load Label Sheets
Users should load label sheets into the printer tray with care. They need to make sure the sheets face the right way, as shown on the package. The guides in the tray should fit snugly against the sheets. This keeps the sheets from shifting and causing jams. Users should avoid overfilling the tray. If the printer jams, they can follow the printer’s guide to clear it. Clean trays and rollers help prevent dust or sticky residue from causing problems.
Place only a few sheets at a time.
Make sure the sheets are flat and not curled.
Use label sheets that match the printer type, like inkjet or laser.
Start Printing
Now users can print labels. They should double-check the preview to make sure everything looks right. If the print does not line up, they can adjust the settings and try again. Some users find that using Adobe Acrobat Reader for PDF files gives better print quality. If the print looks faded, they may need to replace the ink or toner. For best results, users should print one sheet at a time and check each sheet before printing more. This helps catch mistakes early.
Note: Add-ons like ‘Create&Print Labels‘ or ‘Labelmaker‘ make it easier to print labels directly from Google Docs. These tools help fix common problems, like misaligned or skipped labels.
Tips for Best Results
Use Waterproof Labels
Waterproof labels help your address labels last longer. They keep the address clear if the package gets wet. These labels stick well because they use strong glue. They do not fade or peel in hot or cold weather. Many people like them because they do not smudge or tear. The address stays easy to read, even after rough handling. Munbyn waterproof labels are extra tough and come in bright colors for a special look.
They have strong glue that sticks well.
The print stays clear and does not peel off.
They hold up during shipping and sorting.
The address is always easy to read.
Tip: Waterproof labels work better than paper ones. They use special coatings and inks that last longer and look good, even in rain or sun.
Try Different Label Types
Different labels help with many jobs. For products, use labels that show the name, SKU, and how to handle it. Pantry labels help you know what is inside each box and if it is safe. FBA shipments need labels with barcodes and shipping info. Warning labels or “Handle With Care” labels help protect breakable things. Using the right label template saves time and keeps things neat.
Pantry labels tell what is inside and safety notes.
FBA labels have barcodes and shipping info.
Warning labels help protect fragile items.
Enhance Efficiency
Color labels or special labels make sorting faster. Bright color labels are easy to see, so workers find them fast. This helps stop mistakes and makes checking inventory quick. In offices, color labels help sort files and projects. When printing lots of address labels, automation tools save time. Add-ons can fill in addresses, change templates, and print many at once. Test prints and careful setup help stop wasted sheets and crooked labels.
Use color labels to sort quickly and make fewer mistakes.
Make labels faster with add-ons or plugins.
Always preview and test print to check if things line up.
Keep mailing lists in spreadsheets for easy mail merge.
Note: Printing labels well means you spend less time fixing mistakes and more time sending out packages.
Google Docs and add-ons help people make return address labels. Anyone can do this without much trouble. Automation saves time for users. Cloud storage lets them work from anywhere. Custom templates keep the labels neat and clear. People can also try making hang tags or shelf talkers. They might want to make packaging labels for fun projects too.
FAQ
How can someone fix misaligned labels when printing from Google Docs?
If labels print out of place, they should check the print scale. Set it to 100% or “Actual Size.” Test with plain paper first.
Can users print labels on any printer?
Most home and office printers work. For best results, they should use a printer that supports label sheets, like Munbyn or similar brands.
Is it possible to add a logo or image to return address labels?
Yes! Users can insert images or logos using the add-on’s editor. This helps make labels look more professional and unique.